|
Still Life Setup
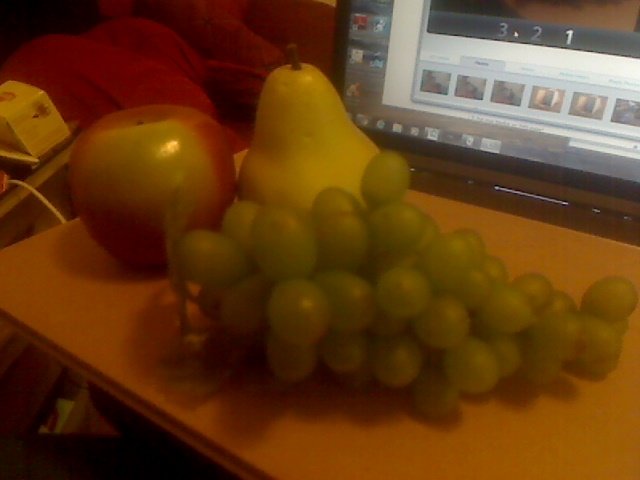
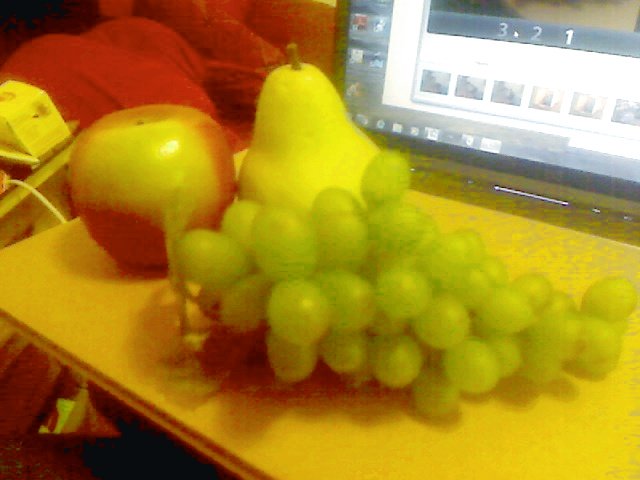
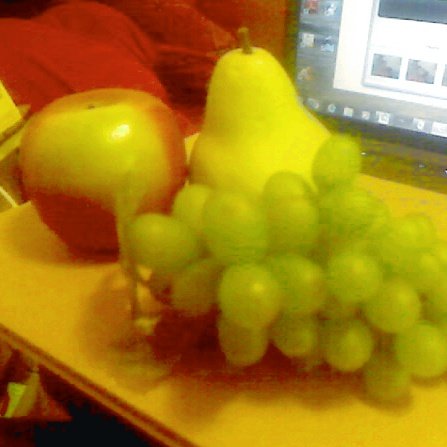
Choose your ObjectsStill life setup takes some thought and planning. It's not just something to throw together at random. Think about design principles, personal taste in choosing objects that mean something to you and take a good photo of your still life so that you can work on it again and again even if you're interrupted. Still life is popular in art schools and art classes because it's the easiest subject for beginners to draw. Your model's not going to move, so you can relax and take all the time you need to paint a still life setup. Preliminary drawings can be very useful! However, some still life subjects do change over time. Living flowers change shape and color as they open, bloom, fade and droop. Living fruit changes color as it ripens and eventually shape as it starts to go bad. Your still life setup won't be the same day to day with living elements. Artists have several ways to deal with this problem. The simplest is to visit a hobby or craft store for artificial fruit and flowers. Choose realistic ones if you want your painting to fool the eye, giving the viewer the idea you painted from real fruit and flowers. Compare your artificial ones with living flowers and fruit to jot down any differences. Another way to keep fruit or flowers from changing in a long project or interrupted still life painting is to snap a photo of your still life setup. Paint from the photo and it doesn't matter if your bananas grew brown spots or got eaten by the time the painting's done. Draw small color studies from life or make color notes when you take a photo to correct the color changes. Not all still life paintings are flowers and fruit. Vases, bottles, tableware, flatware, decorative small sculptures or glass paperweights, marbles, rocks, crystals - any small unliving object can join a still life setup. Choose objects you like. Fruit and flowers are popular in still life for many reasons. Why I like painting them is that I get to use all the bright full intensity colors in my box. Other foods can be set up with your fruit for a food still life. Wouldn't it be fun to put together a still life setup of chips, candy, soda and Twinkies? Perhaps you could set up a still life themed on chocolate with hot cocoa, truffles, bar chocolate, chocolate sauce drizzling on chocolate ice cream. You'd have a contemporary version of a food treats still life. Old Masters often set out game birds, bread, fruit, vegetables together on a groaning table. Sometimes that still life was part of a more complex painting with people and animals in it. There's no limit to still life and it can always be included as an element in another subject. Paint what you like. Whether your objects are real or good imitations, organize the objects in your still life setup. An odd number of objects is more appealing to viewers than an even number. Rather than spacing them out evenly on a surface, group them so they overlap and connect visually to form a colorful whole. Set up a lamp to the side and above your still life setup. It can be at any angle you choose, but above and to the side gives your objects the best depth in the picture. Think about composition while you create your still life setup. Move around it to see it from different angles or turn the tray it's on. I find it easiest to set up a still life on a flat movable surface if the objects are small enough. Even if you chose artificial objects, it's still good to take a photo before you start to draw. Someone else in the family might come along to move your still life setup. You might forget you haven't finished drawing it and put the stuff away. It's almost impossible to recreate a setup perfectly, so taking a photo is one of the best things you can do once your arrangement is finished to your liking. When you have a photo of your still life setup that you like, use Photoshop or another photo editing program to improve it. My favorite photo editing and digital art program is Gimp because it's free and just as powerful as the others. Another good reason I stick with Gimp is that if I bought Photoshop Elements or something else, I'd have to relearn how to use it. Below is my still life photo of three plastic fruits edited in Gimp. I increased Contrast, shifted the color with Hue/Saturation and lightened it, used Levels to lighten it a little more, then Color Balance to compensate for how reddish it is in unedited form. Editing my photos in Gimp is a matter of playing with slides and toggles mostly in the Color menu.

I sometimes set up a big mat board behind a setup and another on the side to create corner "walls" that interesting shadows can fall on. Play with your setup and be creative. Crop and Change
They don't need to be large. They can be as small as a business card or even a postage stamp. Sketch the objects with monochrome or gray scale oil pastels, pencil, charcoal or some monochrome medium in different arrangements on the paper. Or play with your photo by cropping it. Would this still life setup look better in a vertical format or a horizontal one? Would it be great as a panoramic view? Maybe it would look cool in a square format. Try cropping the photo to place the objects in the best proportion to the edges of the painting and lay it out, based on your notans. It helps if the photo's actually cropped. It's okay to cut off one or two of the objects with the edge of the picture. Just try to cut them off in an uneven way like 1/3 outside the picture or 2/3 outside. Cutting something exactly in half with the edge of the painting draws too much attention to the edges.

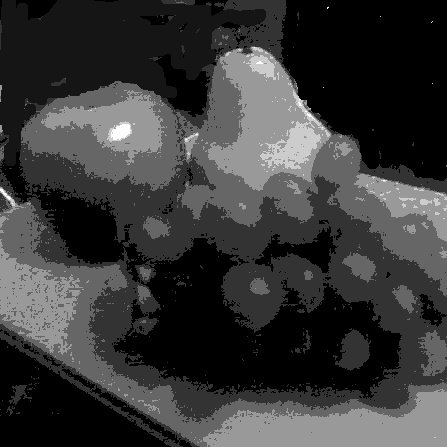
And here's the Notan that I created with Desaturation and Posterize. I'll sketch value mass thumbnails too, but doing a Save As on the cropped photo, then using Hue-Saturation to turn it gray scale by pushing Saturation down to zero gives me a black and white version. I increased Contrast and blacked out most of the background, then used Posterize to reduce it to five levels of value. I would have gone for four, but the value differences within the objects blanked out at that point due to the entire photo being too close to the same medium-dark value. This is an artistic judgment. Have a look at the photo notan below.

Now I have a strong design to work with. I can put away my plastic fruit or keep them handy to get the colors right. I've altered the photo, cropped it and used Gimp to create an artificial notan. From here I'll start drawing preliminary studies. They may be drawings of each of the objects separately, thumbnails of the entire composition in color, or full sized sketches done looser than the final painting. I can decide to change the colors too. Maybe I want a green apple and a deep red-brown pear. Maybe I'd like to turn those grapes into black Concord grapes rather than white grapes. I could even go pop art and create a blue apple, red pear and yellow grapes for a whimsical primary-color composition. Or I can take my colors from the real objects and shapes from the notan to paint these in a realistic way. If I do, viewers may never know I was drawing from a photo of some plastic fruit. Feel free to use this photo series to create a fruit still life of your own. I'll be continuing with this piece in another lesson on Still Life.
|


